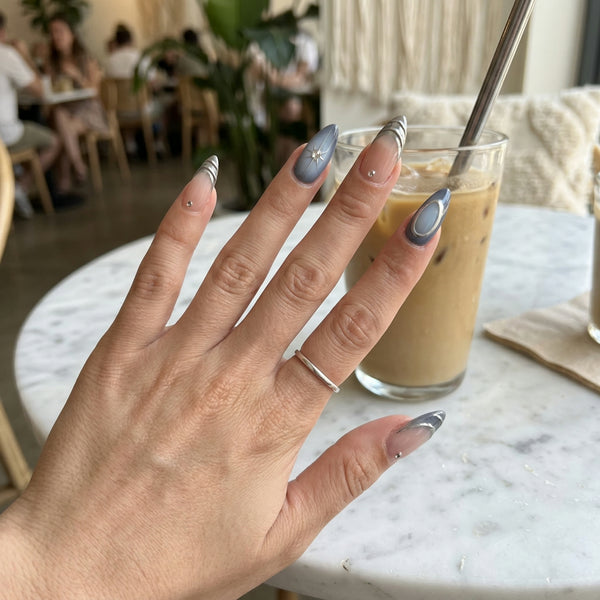
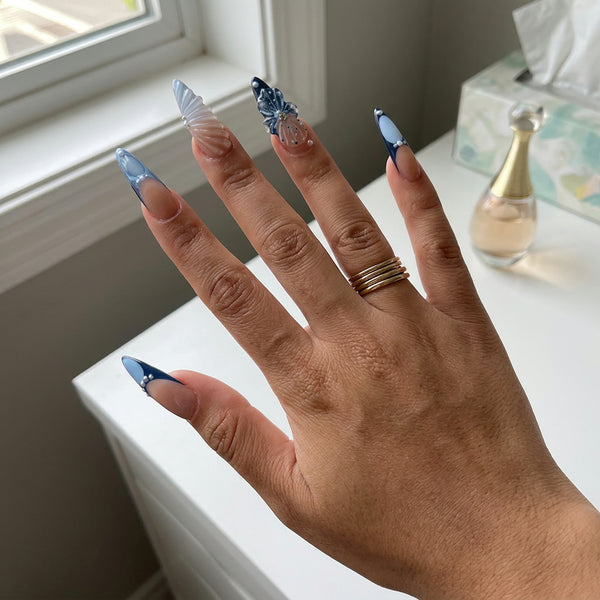
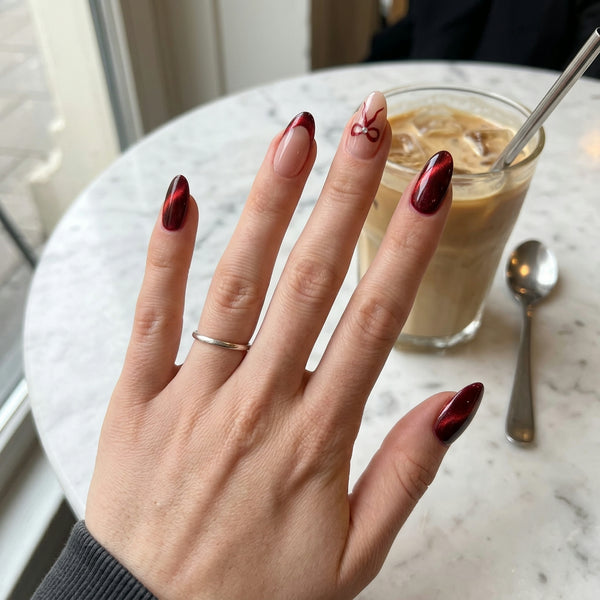
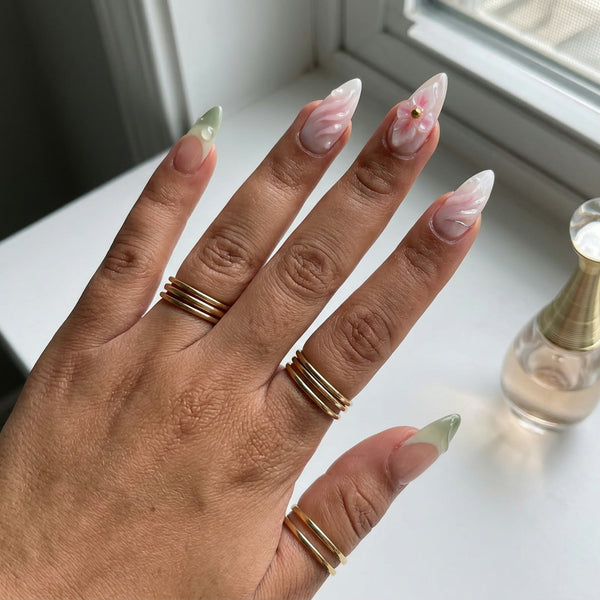
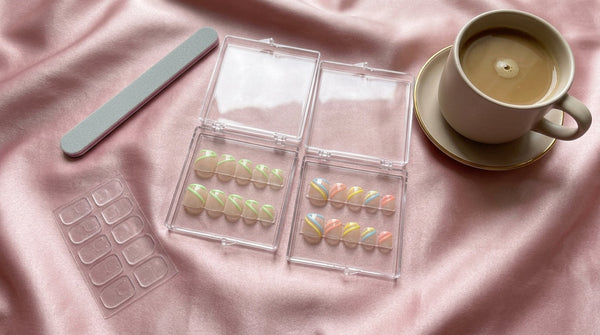
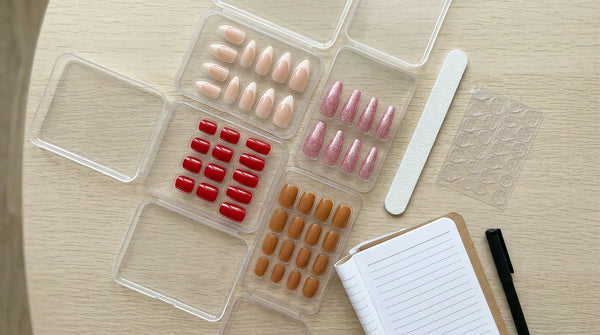
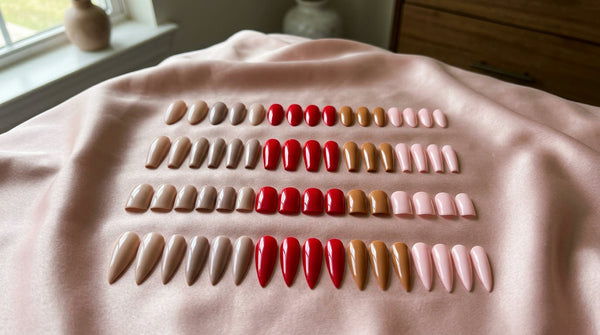
- A full set takes about 10 minutes once you know your sizes.
- Clean, dry, oil-free natural nails are the number one reason press-ons hold well.
- Pick the size that covers your nail side to side without touching skin; when in doubt, go smaller and file.
- Liquid glue holds strongest; jelly tabs are gentler and easier to remove.
- Keep your hands dry for the first hour.
Press-on nails have changed a lot. Today's sets are thin, glossy and shaped like a fresh salon manicure, and the right technique is what makes them look natural instead of fake. This guide walks you through every step we use ourselves, plus the mistakes that cause lifting and the answers to the questions we get asked most.
What you need before you start
| Item | Why it matters |
|---|---|
| Your press-on nail set | Every Press Pretty set comes with nails in several sizes so each finger gets a close fit. |
| Nail glue or jelly glue tabs | Glue for a strong, longer hold; tabs for a gentle, easy-off hold. Check "In the set" on each product page to see what is included. |
| Nail file or buffer | Lightly roughens the shine on your natural nail so the adhesive grips. |
| Cuticle stick | Pushes back cuticles so the press-on sits flush. |
| Alcohol wipe (or soap and water) | Removes oil, the main enemy of a good hold. |

Step 1: Wash, dry and remove old polish
Start with bare nails. Remove any polish, wash your hands with soap and dry them completely. Even a little moisture under a press-on weakens the bond, so give your hands a minute to air dry.
Step 2: Push back cuticles and buff the surface

Gently push your cuticles back with a cuticle stick. Then lightly buff the top of each natural nail until it is no longer shiny. Do not file hard; a light touch keeps your natural nails healthy.
Step 3: Remove oil from every nail
Wipe each nail with an alcohol pad, or wash again with soap and water and dry well. Skin oils and hand cream are the most common reason press-ons pop off on day one. From here on, try not to touch the surface of your nails.
Step 4: Size all ten nails before any glue
Lay the press-ons out and match one to each finger. The right size covers your natural nail from one side wall to the other without touching your skin. If you are between two sizes, choose the slightly smaller one and file the sides for a perfect fit.
- Start with thumbs and pinkies: these are the sizes most people get wrong.
- Line the nails up in finger order so you are not searching with glue on your hands.
- If a press-on is too curved for your nail, warm it in your hand for a few seconds so it softens slightly.
Step 5: Choose your adhesive
| Liquid nail glue | Jelly glue tabs | |
|---|---|---|
| Hold | Strongest | Medium |
| Best for | Wearing a set as long as possible | A weekend, a party, or trying a new look |
| Removal | Needs a warm soapy soak | Quicker and gentler |
| Reuse the set | Yes, after cleaning off glue | Yes, easiest to reuse |
Step 6: Press each nail on (the right technique)
With glue: add a small dot to your natural nail and a thin layer inside the press-on. Too much glue floods the edges and makes removal harder.
With a jelly tab: stick the tab on your natural nail, peel off the top film, then place the press-on.
Place the press-on at a slight angle close to your cuticle (not touching skin), then roll it down toward the tip. Hold firm pressure on the center and the sides for 10 to 20 seconds. Work finger by finger and finish one hand before starting the other.

Step 7: Finish, shape and let it set
File any edge that needs a smoother line, always filing in one direction. Then keep your hands dry for at least an hour so the adhesive can set. That is it: a salon-look manicure, no drying time.


7 mistakes that make press-on nails pop off
- Skipping the oil wipe. Hand cream and natural oils stop adhesive from gripping.
- Choosing a size that is too big. If the press-on touches skin, it lifts at the sides.
- Using too much glue. Excess glue squeezes out and weakens the edges.
- Not pressing long enough. Give every nail 10 to 20 seconds of firm pressure.
- Getting hands wet right away. Wait an hour.
- Using nails as tools. Open cans and packages with the pads of your fingers.
- Applying over polish or gel. Always start with bare nails.
Which shape and length should you choose?
If this is your first set, start with a short or medium length: they feel natural right away and are easy for typing and daily tasks. Short square nails are the most practical, while almond nails make fingers look longer and slimmer. Read our full nail shapes guide to compare almond, coffin, square and stiletto.
How to make your press-ons last longer
- Wear gloves for dishes and cleaning.
- Dry your hands well after washing.
- If one nail lifts, fix it right away with a drop of glue instead of waiting.
- Keep a glass nail file in your bag for quick touch-ups.
When you are ready for a new look, follow our guide on how to remove press-on nails without damage, and see how the best brands compare in our press-on nail brands guide.
Frequently asked questions
How long does it take to apply press-on nails?
About 10 minutes for a full set once you know the steps. Your first set can take 15 to 20 minutes while you learn your sizes.
Should I use glue or jelly tabs?
Use liquid glue for the strongest hold and longer wear. Use jelly glue tabs for a gentler, short-term look that is easier to remove.
Why do my press-on nails keep popping off?
Usually oil left on the nail, a press-on that is too big, not enough pressure, or wet hands in the first hour.
Can I apply press-on nails on short natural nails?
Yes. They cover the nail bed and add length. Make sure each one fits side to side without touching skin.
Can I shower after applying them?
Wait at least one hour so the glue can set fully.
Ready to try? Buy 2 sets, get a 3rd free, with free tracked shipping.
Shop French tip nailsSee all press-on nails